Publishing a Moodle App on Google Play and the App Store: A UK Guide
Publishing a custom Moodle app on both stores requires careful planning. Accounts, certificates, requirements, deadlines, and common pitfalls to avoid.
by Cleverson Gouvêa

Publishing a custom Moodle app on both stores is an operation full of bureaucratic details that determine the success of the launch. The difference between a release that goes live on time and one that is delayed by three months lies in understanding the process before you start, rather than discovering the requirements after your review has already been rejected. This guide is the complete checklist for publishing a well-made Moodle app: what needs to be ready, in what order, and at what cost.
TL;DR
- Apple App Store: Apple Developer account (£79/year), stricter review process (3-14 days), requires an explanation screen for each permission.
- Google Play: Google Play Developer account (£19 one-time), faster review (1-3 days after first approval), requires a detailed Data Safety section.
- Total time from start to having the Moodle app available on both stores: 4-8 weeks if prepared, 12+ weeks if learning on the job.
- The 4 most common reasons for rejection: data privacy, permission descriptions, content for minors, and institutional identity.
Prerequisites before touching the stores
Before any store registrations, three things need to be ready:
- A functional built app with the institution's visual identity (logo, splash, icon), a finalised name, and connected to the correct Moodle instance. This comes from the customisation work — I detailed this in Custom Moodle App: 7 Advantages.
- A published privacy policy at an accessible URL on the institution's website. Both Apple and Google require a public link to this document during submission. The policy must cover: what data the app collects, how it uses it, who it shares it with, and how users can remove it.
- The institution's own domain linked to a trusted institutional account (not a personal employee account). Apple and Google prefer consistency: a registered company, a website on the same domain, and emails @ the institution's domain.
Without these three items, any attempt to publish a Moodle app on the stores will result in a waiting queue.
Publishing a Moodle app on the Apple App Store — step by step
Step 1 — Create an Apple Developer Program account
Go to developer.apple.com and create an account. For institutional apps (schools, universities, companies), the registration must be as an Organisation, not an Individual. This requires:
- A DUNS Number for the company (free, takes 5-30 days to obtain via Dun & Bradstreet — start early)
- Company documents (in the UK: Certificate of Incorporation, Memorandum and Articles of Association)
- A person authorised to sign legally on behalf of the company
- £79/year (auto-renewal)
The verification process takes 1-2 weeks. Apple will call or email to confirm identity. If the institution is part of a larger group (educational group, holding company), it may qualify for a specific programme (e.g., Apple School Manager for K-12 schools) — worth checking.
Step 2 — Configure certificates and provisioning
In the Apple Developer Portal:
- Create an App ID with the app's bundle identifier (format: com.institution.app)
- Generate a Distribution Certificate (the app's digital signature)
- Set up a Provisioning Profile for distribution
- Enable specific capabilities (Push Notifications, Sign in with Apple, etc.)
The app developer handles these steps. Importantly, these certificates must be in the name of the institutional account, not a personal one. Changing them later is cumbersome.
Step 3 — Prepare App Store Connect
App Store Connect is the dashboard where you manage the publication. Here you register:
- App information: name (up to 30 characters), subtitle (up to 30), description (up to 4000), keywords (up to 100 characters), primary category (Education) and secondary (optional)
- Screenshots: required for various screen sizes (iPhone 6.7", 6.5", 5.5"; iPad 12.9" and 11"). Typically 3-5 screenshots per device. Apple rejects overly promotional screenshots — prefer showing the actual app in use.
- Preview Video (optional but recommended): a 15-30 second video showing the app in action
- App icon: 1024×1024 PNG, no transparency, no rounded corners (Apple applies them automatically)
- Privacy policy (public URL)
- Test information: how the Apple reviewer should test the app (test Moodle URL, fictitious student credentials)
Step 4 — Submit for Review
Upload the build via Xcode or Transporter. Then, in App Store Connect, click "Submit for Review" and fill in:
- Version being submitted
- Notes for the reviewer (in English — it helps)
- Encryption Declaration (if using standard encryption, usually "No")
- Advertising Identifier (usually "No" for educational apps)
Review typically takes 24-72 hours nowadays. But cases with issues can take 7-14 days. The response comes by email: approved or rejected with a list of items.
Step 5 — Handle rejection (if any)
When publishing an educational Moodle app for the first time, it's common to receive a rejection on 1 or 2 points. The most frequent ones:
- "Demonstrate the purpose of each permission requested" — describe in text and screenshot why the app requests access to the camera, microphone, notifications, etc.
- "Account creation must use Sign in with Apple" — if the app allows students to create accounts within it, Apple requires including Sign in with Apple as an option.
- "Description does not match app functionality" — the store description must exactly reflect what the app does. Exaggerated marketing is rejected.
- "Privacy policy URL inaccessible" — check that the link works and that the text covers what the app actually collects.
The response is to edit what was requested and resubmit. Each new review is faster (around 24 hours after the first).
Publishing a Moodle app on Google Play — step by step
Step 1 — Create a Google Play Developer account
Go to play.google.com/console and create an account. Unlike Apple, it's a one-time payment of £19. For institutional apps, register as an Organisation. Verification takes 1-3 days and requires:
- A valid physical address
- A credit card for the one-time payment
- Identity document of the owner
- (From 2026) D-U-N-S or similar identity check for company accounts
Step 2 — Configure the app in the Play Console
- Create a new app, set the name, default language, type (App), and free/paid
- Accept the developer programme policies
- Set up app content: privacy policy (URL), category (Education), target audience (age), content rating (fill in the questionnaire)
- Data Safety: describe all types of data the app collects, whether it is shared with third parties, and whether it is encrypted in transit and at rest. This form is detailed and requires honesty — Google audits it.
- Permissions: justify each sensitive permission (access to files, camera, location)
Step 3 — Upload the AAB (Android App Bundle)
The build is generated by the developer in .aab format (Android App Bundle, the successor to .apk). Upload it to the Play Console on the desired track:
- Internal testing: internal testers, up to 100 emails. Useful for initial validation
- Closed testing: groups of up to 2000 testers, ideal for beta testing with selected students
- Open testing: anyone can sign up to test (public, with a link)
- Production: official release
Recommended when publishing a Moodle app: go through Internal → Closed → Production gradually. Each step allows adjustments based on real feedback before the general public.
Step 4 — Configure the store listing
- Title (up to 30 characters)
- Short description (up to 80 characters)
- Full description (up to 4000 characters)
- Screenshots: minimum 2 per device type (phone and tablet, optionally Chromebook). Specific sizes
- Icon: 512×512 PNG
- Feature banner: 1024×500 PNG, used in store highlights
- Promotional video: optional, YouTube link
Step 5 — Review and publication
Google Play review is generally faster than Apple's — 24-72 hours for simple apps. Educational apps with data from minors may take longer (up to 7 days) due to extra scrutiny under the Designed for Families programme.
Once approved, the app goes to the selected track (production, beta, etc.) and becomes available in the store search within a few hours.
The 4 most common reasons for rejection when publishing a Moodle app
Reason 1 — Inconsistent data privacy
The app says it collects X but the privacy policy describes Y, or Google's Data Safety says no sharing but the app sends data to Firebase. Both stores audit — inconsistency is detected and rejected. Solution: perfectly align what the code collects, what the policy describes, and what Data Safety declares.
Reason 2 — Permissions without visible justification
The app requests camera permission but nowhere in the app is the camera used. The reviewer tests, doesn't find it, and rejects. Solution: either actually use the permission with an explanation screen, or remove the permission from the app manifest.
Reason 3 — Content for minors without adequate protections
Educational apps always serve teenage or child audiences. This triggers extra rules (COPPA, UK GDPR for children): parental consent, anonymisation, limited tracking, restricted advertising. Not complying = quick rejection. Solution: correctly define the age range and implement proportionate protections.
Reason 4 — Unconfirmed institutional identity
The app name says "University X" but the developer account is in the name of a random individual. Apple and Google check this correspondence. Solution: an institutional account, with institutional documents, in the correct name.
Total consolidated costs
A typical operation to publish a custom Moodle app on both stores involves:
| Item | Cost |
|---|---|
| Apple Developer Program account | £79/year |
| Google Play Developer account | £19 one-time |
| DUNS Number (Apple Org) | Free |
| Privacy policy drafted by a solicitor | £500-£1,500 one-time |
| Professional screenshots (designer) | £600-£1,800 one-time |
| Short promotional video | £900-£3,000 one-time |
| Development + app customisation | £18,000-£48,000 one-time |
| Annual store maintenance | £600-£1,800/year |
Typical launch total: £21,000-£57,000 one-time + £900-£2,100/year recurring. I detailed the development cost in Moodle Mobile App vs Custom App.
Realistic timeline
- Weeks 1-2: account creation, DUNS Number, privacy policy
- Weeks 3-6: development/app customisation (in parallel with accounts)
- Week 7: store dashboard setup, build upload, listing configuration
- Week 8: submission for review, rejection fixes if any
- Weeks 9-10: app published on both stores
This timeline assumes an experienced team and a well-coordinated process. First-time without experience usually adds 4-6 weeks of rework.
Maintenance after launch
Publishing a Moodle app is just the beginning. Ongoing operations involve:
- Annual renewal of the Apple Developer account (£79) — without renewal, the app is removed from the store
- Renewal of distribution certificates (annual for Apple, automatic for Google)
- Periodic app updates — every new Moodle version or visual change needs to be submitted (update reviews are faster, usually <24h)
- Responding to user reviews on both stores — good practice for store SEO and perception
- Crash monitoring via Firebase Crashlytics or App Store Connect Analytics
- Ongoing compliance with new Apple/Google rules (they change several times a year)
At Agathas Web, we manage this complete cycle as a service: from initial account setup to ongoing publication maintenance, leaving the institution free to focus on educational content. To understand the package, it's also worth looking at the features that make the biggest difference to engagement — push notifications in the Moodle app and offline mode.
Related posts
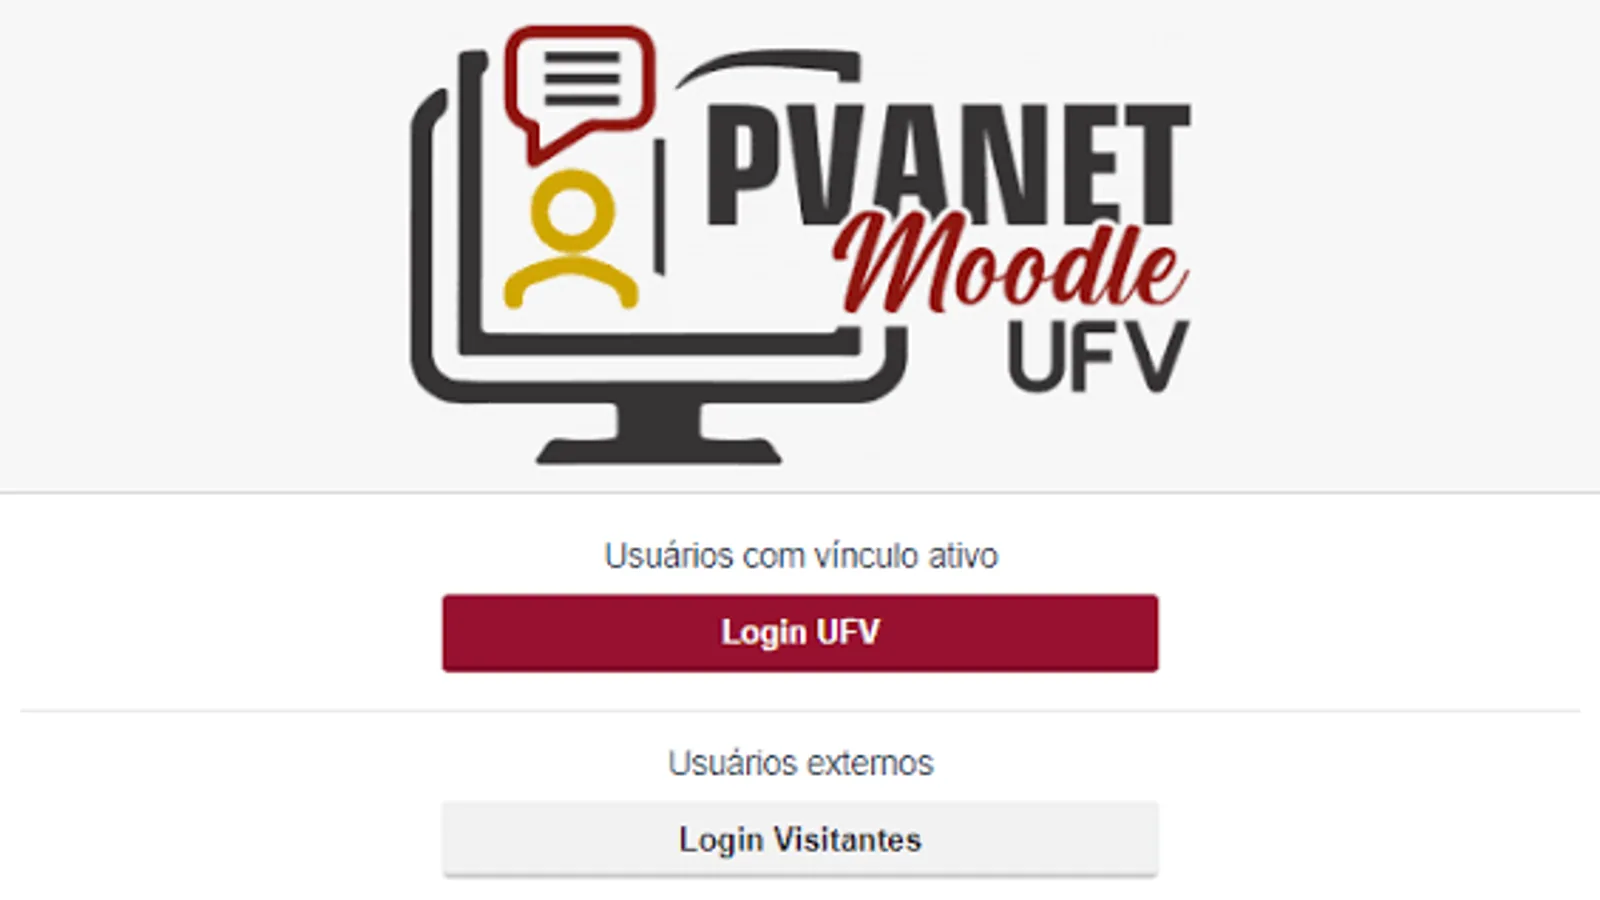
PVANet Moodle Upgraded to 4.5: What It Means for UK Institutions
UFV migrated PVANet Moodle to version 4.5 LTS for security. See what changed and the lesson for those managing online learning in the UK.
Moodle 5.2: React, AI with Gemini and Bedrock in 2026
Moodle 5.2 arrived on 20/04/2026 with React in the core, native AI with Gemini and Bedrock, multiple markers and a new Report Builder.
Moodle App 5.1 in 2026: What's New and When to Go White Label in the UK
The official Moodle App received two major updates in 2026. Here's what changed and when a white label app makes sense for UK institutions.